6 Tips on How to Take Photos to Flip Furniture and Sell Vintage Decor Faster
If you are new to flipping, you might still be working on how to take photos to flip furniture and sell thrifted decor well. It definitely took us a while to be confident. We’ve now sold tens of thousands of dollars of furniture and decor, and we’ve learned a few things we can share.
This post may contain affiliate links, which means I’ll receive a commission if you purchase through my link, at no extra cost to you. Please read full disclosure here.
Why Taking Good Pictures to Sell Furniture Matters
You don’t need a fancy camera or a professional studio to take amazing furniture photos—but you do need to think about lighting, angles, and staging. If you’ve ever scrolled through Facebook Marketplace or Etsy and seen a blurry, dimly lit dresser with piles of clutter in the background, you know exactly what not to do.

It’s not about it looking “nice”. It’s about a buyer being able to imagine a piece in their space. It gives the table personality when you put vintage decor (or a cool modern piece on it). If you add plates and glasses it feels ready for someone’s meal. There are nightstands that are standouts on their own. Most are covered with books and lamps and the purpose is the point here — not the prettiness.
All the technical part is just to keep that experience frictionless. Light enough you don’t have to squint. Clear enough you aren’t guessing. You want the person to have nothing stopping them from leaning in. . .or scrolling to the next option.
We started as total photography amateurs, but with a few simple adjustments, we saw a huge improvement. We still aren’t amazing at it, but the good news is you don’t have to be — you just need to be better than the competition (harsh, but…). Let’s talk about how to stage and photograph your flipped furniture so that buyers fall in love at first sight.
1. Selling Vintage Decor: Take Photos Using Natural Light Whenever Possible
- The best lighting is free! Take photos near a large window or even outdoors.
- Overcast days work great—direct sunlight can create harsh shadows.
- Example: Our carnival glass shots looked stunning in soft natural light, while our lightbox setup helped control reflections.
Pro Tip: Avoid using your ceiling lights—they often cast weird yellow tones that make colors look off.
The lighting will give you a different effect even more with vintage decor like carnival glass.

These were taken outside, a bit late in the day, in partial sun. You can see how the carnival glass lights up.
This picture was taken indoors in a lightbox. It gets very hot where we live so in the height of summer this is a life saver. And you can take pics at night. We still got pretty good photos.

2. Get Creative With Lighting: Sunlight Substitutions
Personally, lighting feels more critical than staging. Actually, I’d say: 1) no clutter, nothing that distracts from the item itself. 2) good lighting and 3) staging. Lighting is more important than staging. People are practical first — are there nicks, is that a crack, does it need to be repainted. That requires good lighting and multiple angles. Then people dream a little and that’s when the staging helps.
How to Use a Lightbox for flipping decor

This light box doesn’t seem like much, but we use it almost daily to take pictures of decor for our Etsy business. 1000+ sales and 100+ 5-star reviews and we feel ok about it! Get all our flipping essentials here.
While natural light is generally the winner when it comes to good lighting, don’t go overboard hauling things outside (unless you are asking a significant amount–if we want more than $100 we will slow down). There are options, including a few really reasonable investments.

This midcentury hurricane lamp candle holder was shot in the light box. Those wooden squares? Goodwill grab — yup, even our thrift flip staging is thrifted.
- A ring light can make a huge difference, especially for darker rooms, or for a close up.
- Our lightbox setup works great for smaller decor pieces, usually for our Etsy listings.
- PRO TIP: Get creative. We once shot furniture in the bathroom for the best lighting. It worked! (Yes, we have TikTok proof.)
This is literally the light box that we have and it’s been great. At least two years now, no problems, easy set up. Makes a massive difference in your lighting and staging.
We love this lightbox and have used it for over a year. It was easy to assemble, affordable and changed. our. Etsy. listing. game.
Elevate your photography with the Takerers 32x32 Inch Large Lightbox, perfect for capturing professional-quality images without the high studio costs. This versatile lightbox is a must-have for DIY enthusiasts seeking to showcase their upcycled creations with stunning clarity. With its spacious design and adjustable lighting, you'll effortlessly bring out the best in every detail. Ideal for bloggers and creators aiming to highlight the beauty of sustainable, upcycled decor, this is your go-to tool for eye-catching content.

3. Stage Your Furniture Like a Pro in Photos to Flip Furniture
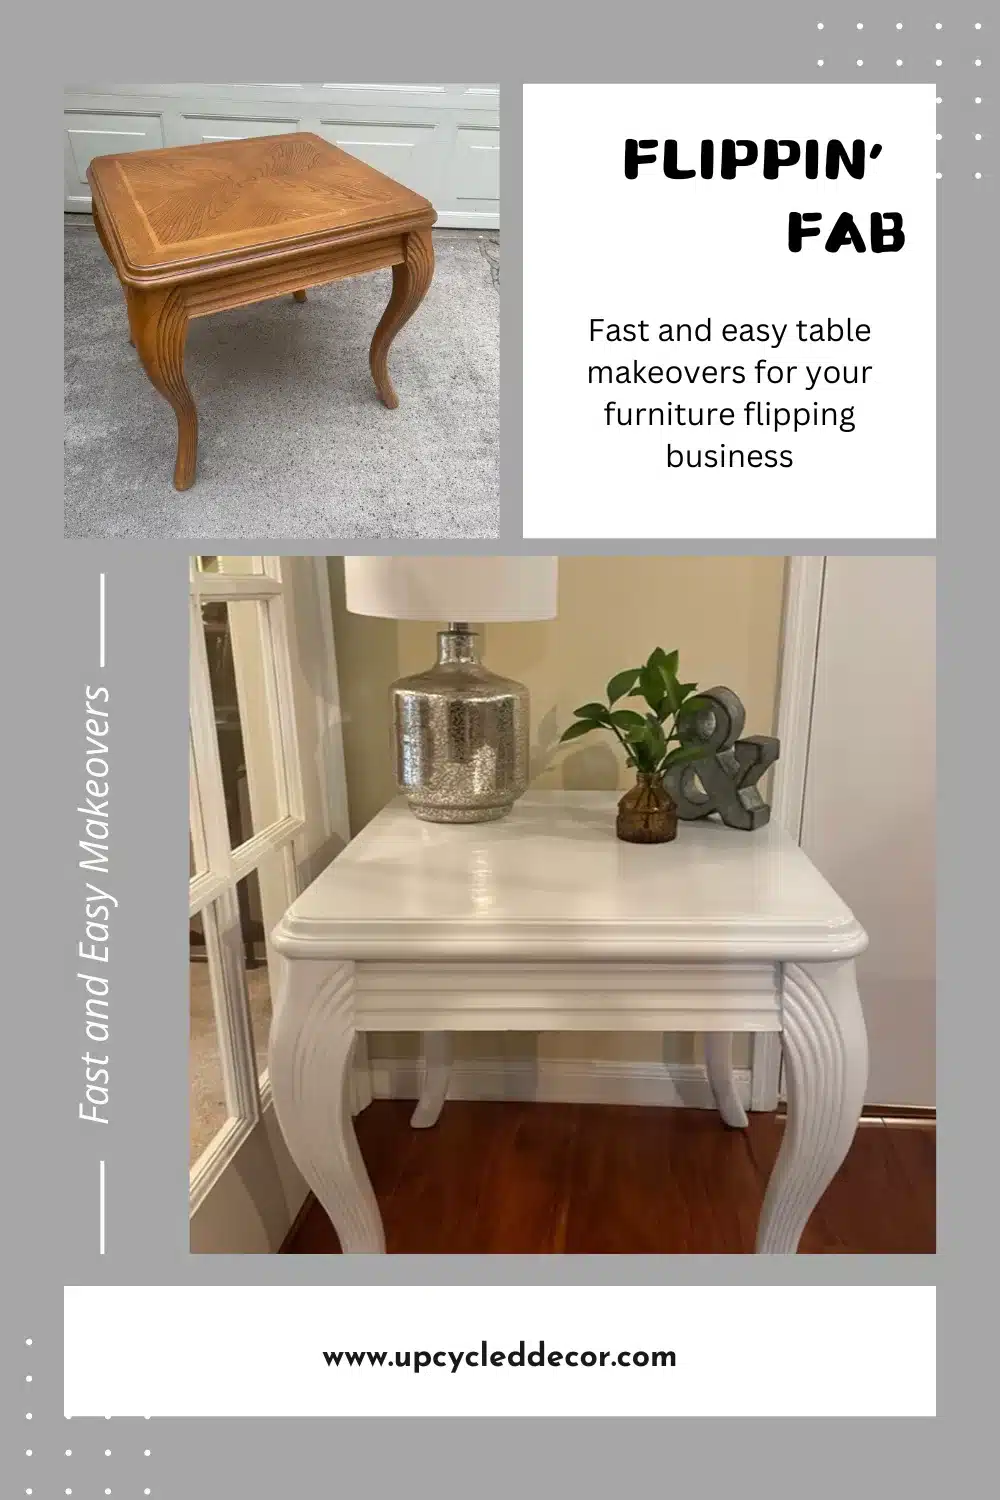
- For basic furniture like end tables, night stands and desks, use neutral props like old books, plants, or a simple vase to create a styled look. For unique pieces, stage LESS unless the staging clarifies the piece.
- For vintage, check Etsy listings (even if you’re selling locally, stage professionally (within reason)) to see how successful sellers stage their pieces. Don’t forget that most marketplaces will show your item next to others with similar items. So check out the competition and make sure that you’re keeping up
Pro Tip: Buyers want to see the furniture in a real home setting—not shoved into a cluttered garage.

You don’t really have to be a “pro”. This was taken is in the kitchen (where everyone keeps antique desks) but we stuck a lamp and some books on it, just to give the buyer a sense of what it would look like. Generally, the more we ask for a piece, the more time we take to stage it. (And this one sold in a couple of weeks.)
4. How Photos to Flip Furniture Need The Right Angles
- Shoot straight-on—avoid awkward high or low angles. Here’s the difference when you shoot from too high versus right on.
- Get detail shots to highlight texture, hardware, and craftsmanship.
- Show multiple angles–including any significant wear or damage so buyers know exactly what they’re getting.

This dough boy table is unusual, and it’s important to get good close shots of the interior. We also took close ups of the feet, and even the underneath (definitely do this if your furniture is stamped with origin or manufacture information that would increase value).
- Adjust brightness, contrast, and sharpness to make details pop.
- Avoid extreme filters—buyers want to see the real colors.
- Apps like Canva are great for full edits, but a lot can even be done on your phone.
5. Consider Staging Seasonally When You Take Photos to Flip Furniture or Sell Vintage Decor
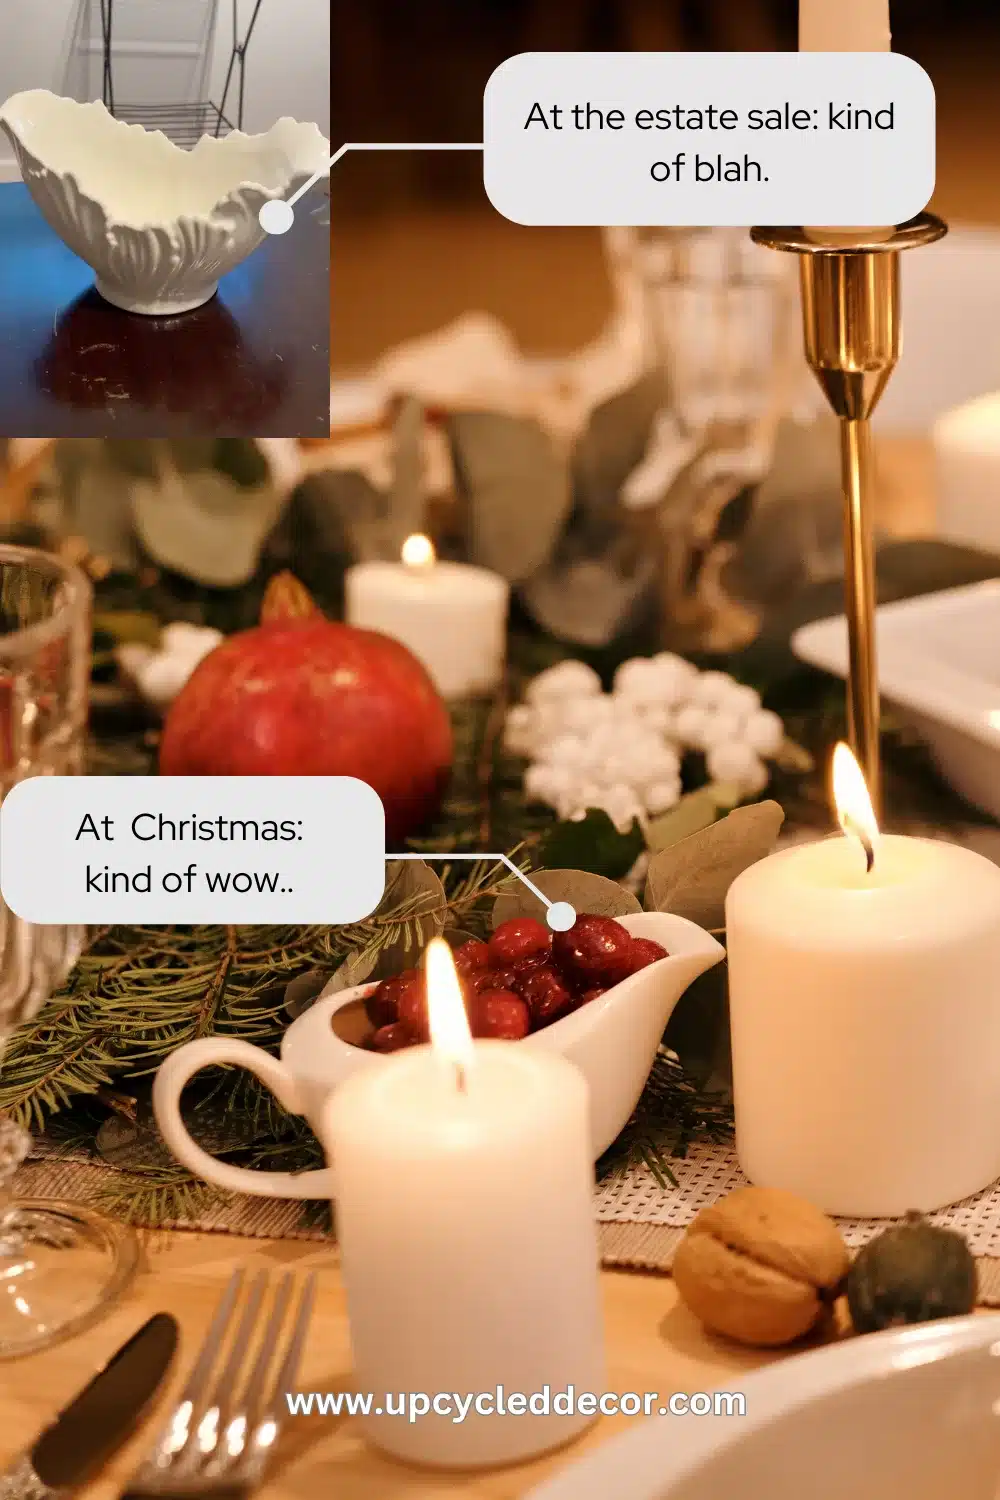
I mentioned this a bit already but it’s worth going into a little more. It’s probably obvious you should put Christmas dishes with red napkins and hang vintage ornaments on an artificial tree. But also think a little more broadly. Children’s desks staged with children’s books in early August for back to school. We stage basics like coffee tables in late spring with a more recent grad, younger person, apartment look (modern candles, not vintage tea cups, whatever). That’s who we see needing even basics like coffee tables in the spring.
Similarly you can do hard pushes in late spring for outdoor decor (patriotic decor in time for Memorial Day and 4th of July). Online decor that works for weddings — it’s not about seasonality but context. Show a cake stand nearby and some fresh or artificial light flowers reminiscent of a bridal bouquet. It’s not quite a season per se, but it’s very contextual.
6. Add video when you take photos to flip furniture faster
If you sell decor online on Etsy, they will remind you every day eleven times per day to upload video. Frankly, it might be even more important with furniture. If you are selling on Marketplace, we have-no-basis-for-this-but-think-the-algo-likes-it. Or, people just engage with video more often. Or, video is actually really helpful and it’s more than just cool to see a video. You actually with furniture can sometimes get scale, you can understand how it’s made, you can see side shots that are usually not a priority.

Learn how seriously we take our free furniture finds for flipping. We have a curbside picks planner. It has notes, a to-do list, a weekly list and tips. Can we say we’re flippin’ serious? Grab the guide here.
I think that taking the picture of furniture worked even better because we sell locally and there is no third party seller like Etsy likely to ban us for bad photos. So people are more leery of what they will see versus what was pictured. And we live in a big city where people might drive 45 minutes to pick something up. So this might be a confidence and trust factor. We get a lot of compliments online and IRL about something being just as described.
Final Thoughts: Better Photos = Faster Sales
A few small changes in lighting, staging, and angles can make your furniture look more professional—and that means faster sales at higher prices. Whenever we got to mark something sold faster than usual we’d check the item, the price, the platform — to understand what helped it sell. Then we’d check the photo–sometimes it really was just that extra five minutes to add a lamp or a plant.
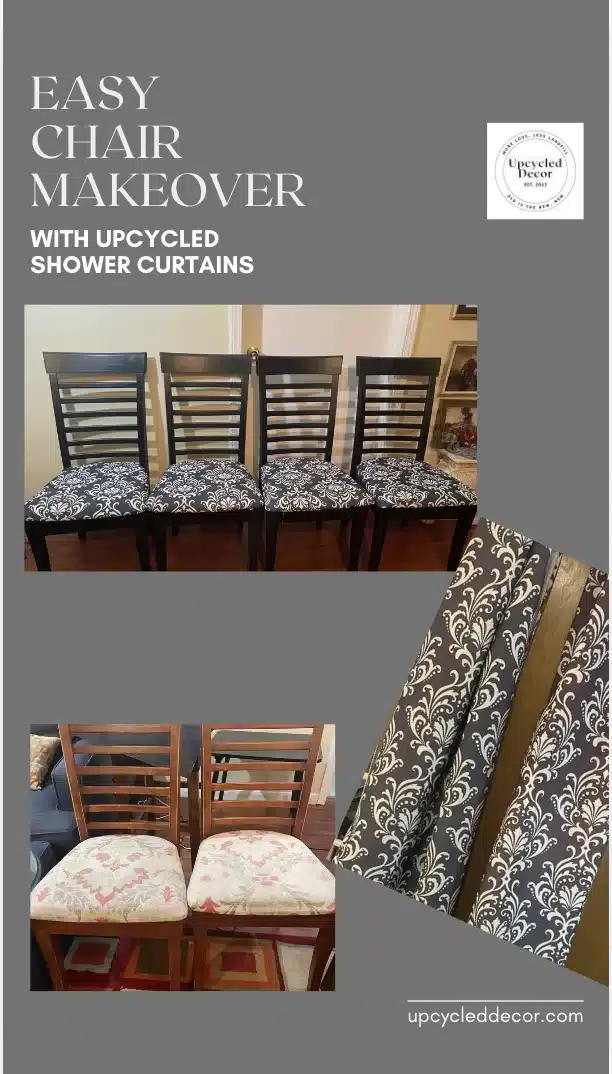
These chairs didn’t have much staging but sometimes a good clean shot is enough. Want to learn the back story on these four chairs? It involves six chairs and a shower curtain.

💬 What’s your best furniture photography tip? Let us know in the comments!