
This post is about how to do a quick and easy nightstand makeover.
This post may contain affiliate links, which means I’ll receive a commission if you purchase through my link, at no extra cost to you. Please read full disclosure here.
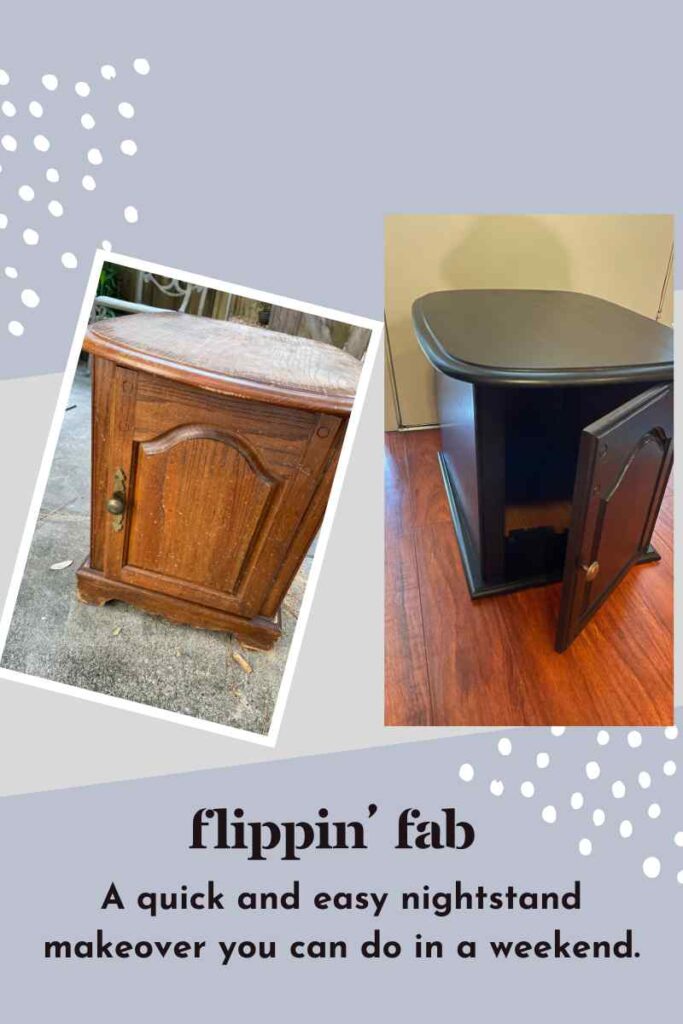
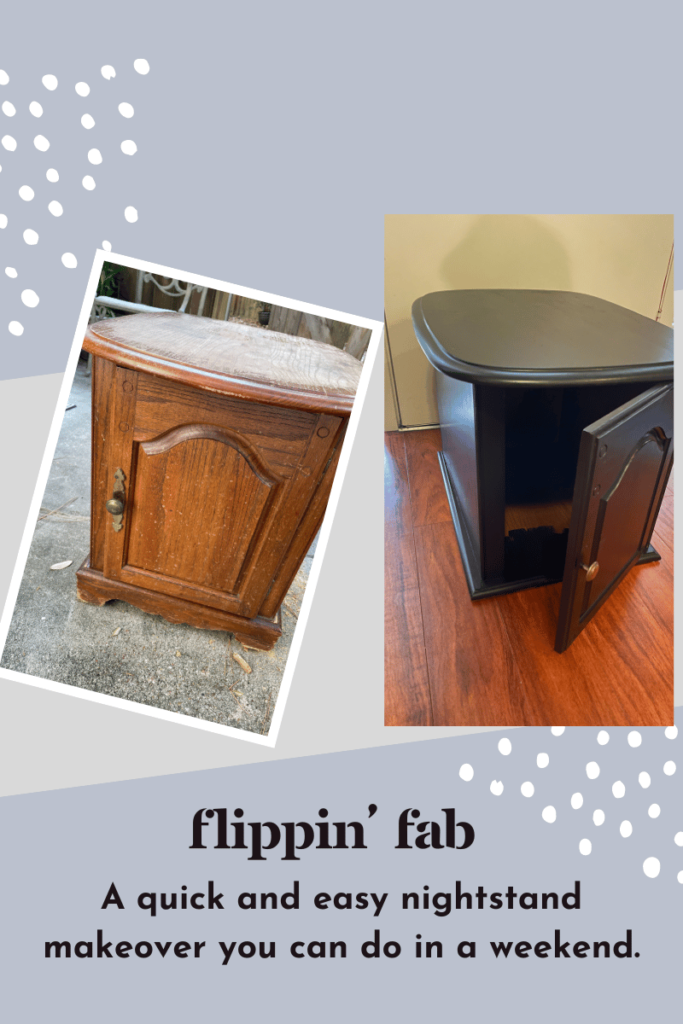
Flippin’ Fab: this fast furniture makeover can easily be done in a weekend and ready for sale
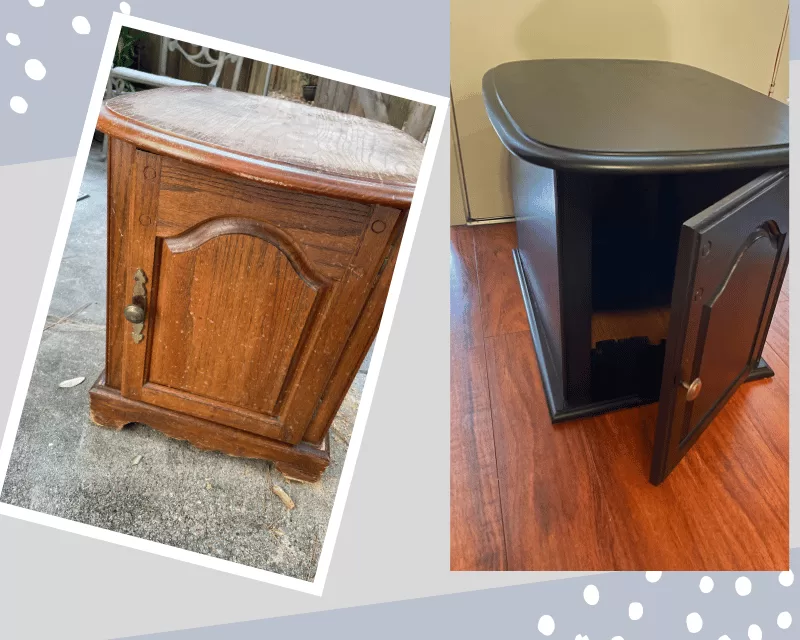
Furniture makeovers don’t have to fundamentally change the appearance of a piece; they can just be about breathing new life into something that faded. If you have a furniture flipping business, not every piece should become a weeks-long project. In this case, I took an old, tired nightstand (actually a pair, but I only photographed one! Oops.) and turned it into a sleek, modern piece that’s ready to shine in any space. Here’s how I accomplished this flippin’ fab transformation with an easy nightstand makeover.
Why did I choose this nightstand makeover? Pair and pricing.
The first step in any furniture makeover is assessing the piece. The nightstands I started with were solid but had seen better days. The wood was scratched, the finish was worn, and the hardware was outdated. But this pair was only $15! I couldn’t resist. One nightstand is a pretty safe bet but a pair of nightstands almost always sells quickly. When I got it home, I realized the feet were sooo deteriorated. I mean, they crumbled in my hands. Oddly, the feet were an MDF or composite, but the rest was solid wood. I ended up just taking the feet off. I had to saw them off and yes, I made a mess.
Preparation is key for any easy nightstand makeover
I began by removing the hardware and giving the nightstand a thorough cleaning. Years of grime and dust can prevent paint from adhering properly, so I used a gentle cleaner to get rid of all the dirt.
Next, I lightly sanded the tops because these are nightstands and frankly, that was where there was the worst scratching. The doors and sides were in pretty good shape. I used a fine-grit sandpaper (I often start kind of high, like 120 grit and work my way down to 80 or 60.) This smoothed out most imperfections. Best practice is usually to sand, unless you’re using something like chalk paint, because it helps the paint adhere.
But to be honest, I often only sand if I need to even out imperfections, or if it is a very high gloss piece. A few times this has been a big mistake, and I had to redo the whole piece. But generally, I find that as long as I’m using primer, or an all-in-one primer and paint, only a light sanding in key places is necessary. Note: primer is not optional. Again, you can use an all-in-one, but don’t go for a cheaper paint that is meant to be used over a primer. Let’s just say…I know for sure that it doesn’t work.
Priming and painting: two coats but all-in-one
I loathe priming. I don’t know why, I think I just find it tedious. Instead, I often use Behr Interior Primer + Paint, especially when I was first starting. It’s inexpensive, and for nightstands like this, I wasn’t expecting to get a lot for them. So I needed a good, even finish in my neutral, go to black. Neutral colors: white, black, and sometimes gray are usually best if you’re doing a simple furniture makeover. I recommend sticking with neutrals if you are just starting your furniture flipping business.
A note about my go-to supplies
I applied two coats of paint, allowing each coat to dry thoroughly before applying the next. The key to a smooth finish is patience—rushing the process can lead to drips and an uneven surface. But also—here’s a tip I learned that worked well here—add Floterol to your paint. This will reduce the chance of painting on too thickly if you’re new to furniture makeovers. But it will also dry quickly. Also, I used satin finish here. It’s just enough sheen to reflect light and wipe off easily.
I pour into these Handy Paint Cups. I love them because they are just the right size to hold enough paint to do a whole chair. Usually this means I can close the gallon can and put in the garage, then use this at night in the kitchen. Plus, The Handy Paint Cups have a magnetic square near the top, so your paint brush can stick to the side of the pail, without the bristles in the paint.
Anyway enough about the painting! It was generally pretty quick. The bottoms were tricky now that the feet were off. I sometimes paint a piece upside down first and I should have done that here. It would have made an easy nightstand makeover even faster. Oh, well!
Updating the hardware: replace or paint
The original hardware was functional but outdated. Rather than replacing it entirely, I opted to give it a facelift. I removed the old hardware, which was a knob and then a slightly ornate backplate. I just removed that backplate because that scrolled design was dating it. A quick fix that made a big difference in the overall appearance! Sometimes when I go from brown to black I spray paint original hardware a silver or nickel finish. Other times I even replace it completely, But in this case I literally just left part of the hardware off to create a cleaner, more modern look.
Finishing touches
Now they were all set. The once dated, brown nightstands had been reborn as a stylish, modern piece that was also neutral and useful for almost any décor. They were slightly lower than before, but I always add measurements in my listings. You could add new feet to it if it feels too flat, or even casters to make it a more mobile piece. I should note that after I took the picture above, I added some simple black and white paper into the inside. (You can see that I didn’t quite paint the whole inside to save paint. I knew I was going to cover the rest of it!)
The before and after photos tell the story best. What started as a scratched and worn-out nightstand is now a sleek, black piece of furniture with a timeless appeal. The whole project was actually pretty fast. I love fast and easy furniture makeovers like these because we can often flip the furniture a few days later!
We sold these pieces a couple weeks later!
Please save and share this article!
This post is about how to do a quick and easy nightstand makeover.


